OBS Studio adalah perangkat lunak sumber terbuka yang memungkinkan pengguna untuk melakukan streaming game atau layar mereka secara profesional. Ini memiliki platform untuk sistem operasi macOS dan Windows. OBS biasanya digunakan oleh gamer kelas atas yang lebih memilih kontrol lebih besar atas berbagi layar mereka dibandingkan dengan perangkat lunak perekaman layar konvensional.
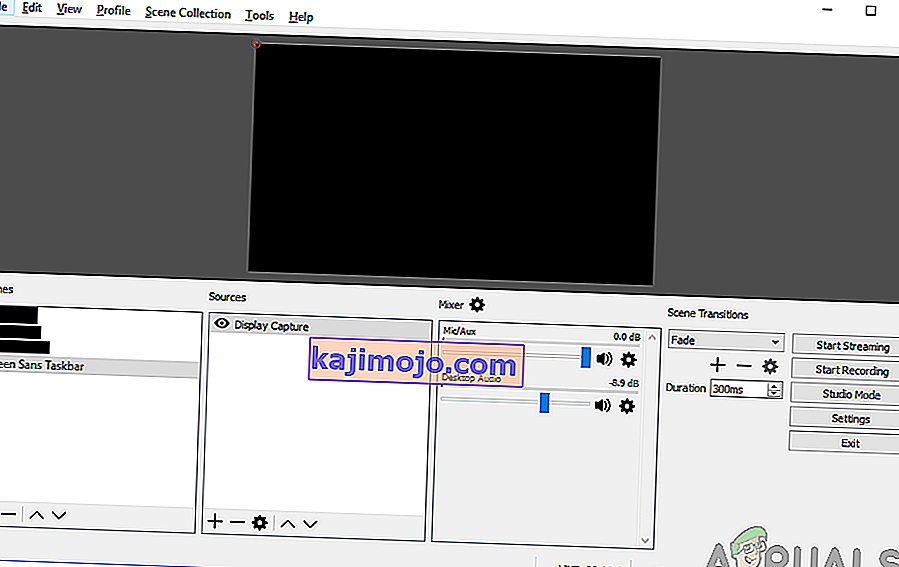
Masalah telah mengganggu OBS selama beberapa waktu di mana pengguna mengalami 'layar hitam' saat mencoba membagikan layar mereka secara online. Masalah ini sebagian besar terlihat pada platform dan sistem Windows di mana terdapat dua opsi grafis yaitu berdedikasi dan terintegrasi keduanya. Pada artikel ini, kami akan melihat semua solusi tentang mengapa masalah ini terjadi dan apa langkah-langkah untuk mengatasinya.
Apa yang menyebabkan Layar Hitam di OBS Studio?
Kami melakukan survei ekstensif dan menganalisis semua kasus pengguna di mana layar hitam terjadi saat streaming menggunakan OBS. Berdasarkan analisis kami, kami menemukan beberapa penyebab berbeda yang mungkin menyebabkan masalah tersebut. Beberapa di antaranya tercantum di sini:
- Gangguan Grafik Khusus: Setiap kali Anda memulai aplikasi atau permainan apa pun, sistem operasi harus memutuskan apakah akan mengalokasikan sumber daya dari kartu grafis khusus atau melalui grafik terintegrasi motherboard normal. Pilihan ini mungkin berdampak buruk dalam hal menjalankan mekanik dan OBS mungkin tidak dapat melakukan streaming dengan baik.
- Hak istimewa administrator: Karena OBS membagikan seluruh layar Anda, mungkin ada beberapa kasus di mana komputer mungkin membatasi aksesnya, dan karenanya mungkin tidak dapat menampilkan konten Anda. Biasanya hanya memulai aplikasi dengan akses administratif menyelesaikan masalah secara instan.
- Konflik pada aplikasi 32 dan 64 bit: OBS memiliki dua versi aplikasinya yaitu 32 dan 64 bit. Versi yang benar harus dipilih tergantung pada jenis sistem operasi yang diinstal di komputer Anda. Jika tidak, aplikasi tidak akan kompatibel dan tidak akan berfungsi dengan baik.
- Masalah kompatibilitas: Kami juga menemukan beberapa kejadian ketika OBS tidak kompatibel dengan versi windows terbaru. Di sini memulai aplikasi dalam mode kompatibilitas memaksa aplikasi untuk memulai dan bekerja seperti yang diharapkan.
- Overclocking: Overclocking dapat meningkatkan kinerja PC Anda tetapi juga memiliki efek merugikan pada aplikasi. Anda dapat mencoba menonaktifkan overclocking dan melihat apakah ini ada gunanya untuk masalah tersebut.
- Perangkat lunak yang bentrok: Mungkin juga ada perangkat lunak perekam serupa yang berjalan di latar belakang. Perangkat lunak ini mungkin bertentangan dengan OBS dan menyebabkan perebutan sumber daya yang pasti akan menyebabkan OBS tidak berfungsi dan tidak berfungsi dengan baik.
- Opsi pengambilan: Ada beberapa opsi pengambilan yang tersedia di OBS, misalnya, layar penuh atau jendela tertentu, dll. Opsi yang benar harus dipilih saat mengambil konten.
- PC dalam status kesalahan: Seseorang tidak akan pernah bisa menghilangkan kemungkinan PC dalam status kesalahan. Ini biasanya terjadi ketika Anda tidak mematikan komputer untuk waktu yang lama. Cukup power cycle memperbaiki masalah yang dihadapi.
Pastikan Anda mengikuti solusi dari atas dan turun secara efektif. Mereka diatur dalam hal kesulitan dan efisiensi. Selamat memecahkan masalah!
Solusi 1: Power cycle komputer Anda
Sebelum kita mulai memecahkan masalah secara ekstensif, ada baiknya menghidupkan kembali komputer Anda. Ada beberapa kasus di mana siklus daya hanya menyelesaikan layar hitam OBS secara instan. Perputaran daya melibatkan mematikan komputer Anda sepenuhnya dan melepaskan sumber dayanya juga. Ini memaksa komputer untuk menghapus semua konfigurasi sementara sehingga setiap kali Anda memulainya lagi, semuanya akan diinisialisasi baru.
- Matikan komputer Anda dengan benar.
- Setelah dimatikan, cabut stopkontak atau jika Anda menggunakan laptop, keluarkan baterainya .
- Sekarang tekan dan tahan tombol daya selama beberapa detik. Ini akan memastikan bahwa semua daya terkuras.
Setelah menunggu 2-4 menit, pasang kembali semuanya dan periksa apakah masalah teratasi.
Solusi 2: Memilih Versi OBS Studio yang Benar
OBS biasanya hadir dalam dua versi yaitu 32 dan 64 bit. Perangkat lunak dikirimkan dalam dua versi karena sistem operasi Windows juga dikirimkan dalam dua versi. Perbedaan besar antara prosesor 32-bit dan prosesor 64-bit adalah jumlah kalkulasi per detik yang dapat mereka lakukan, yang memengaruhi kecepatan mereka menyelesaikan tugas. Dalam solusi ini, kami akan menavigasi ke direktori instalasi OBS dan memilih versi perangkat lunak yang benar setelah memeriksa versi bit Anda.
Pertama, kami akan memeriksa versi sistem operasi yang diinstal di komputer Anda.
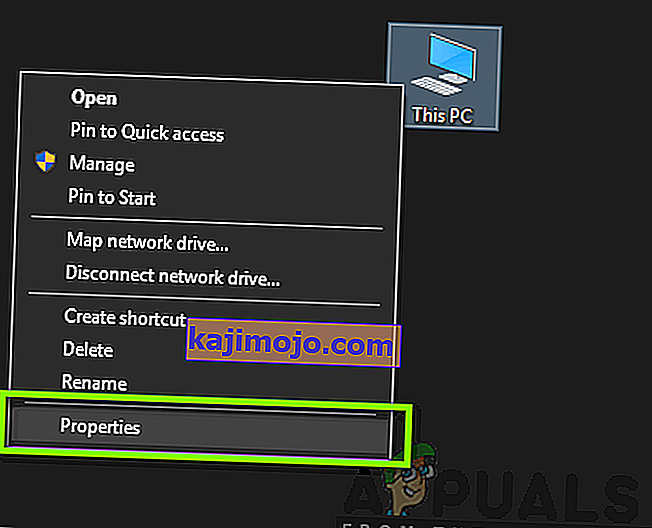
- Klik kanan pada PC ini dan pilih Properties .
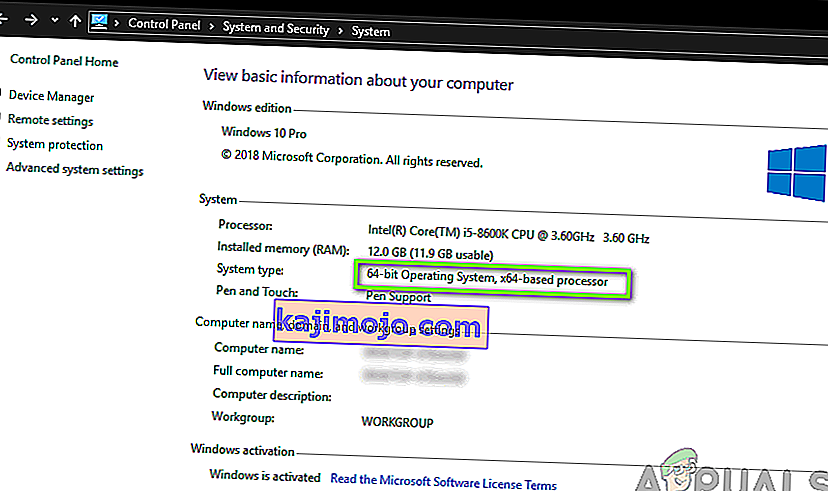
- Setelah berada di properti komputer, periksa di bawah subjudul Sistem dan periksa jenis di depan Jenis Sistem . Catat jenis sistem operasi dan lanjutkan dengan instruksi di bawah ini.
Sekarang kita akan menavigasi ke folder instalasi OBS dan meluncurkan versi aplikasi yang benar sesuai dengan arsitektur bit di komputer Anda.
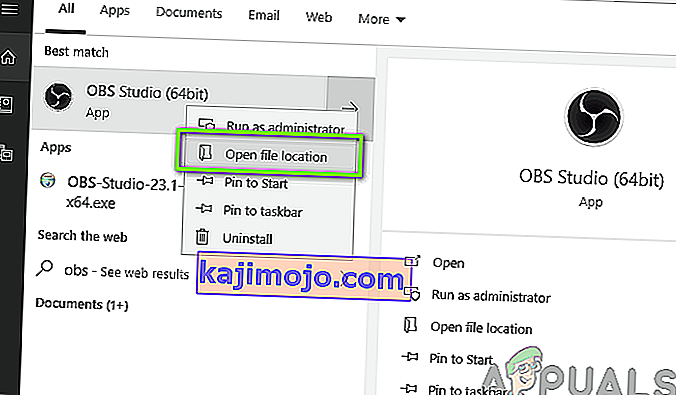
- Tekan Windows + E untuk meluncurkan file explorer. Sekarang cari OBS di kotak dialog dan buka lokasi file seperti yang ditunjukkan di bawah ini pada gambar.
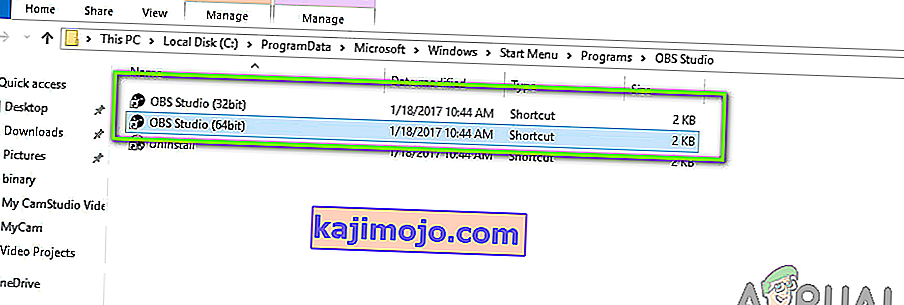
- Sekarang pilih dan buka versi aplikasi yang benar tergantung pada versi bit OS Anda. Periksa apakah masalah telah teratasi.
Solusi 3: Mengubah mode Kompatibilitas
Kami menerima laporan campuran dari opsi mode kompatibilitas yang ada dalam aplikasi. Menurut beberapa pengguna, versi terbaru Windows tidak didukung oleh aplikasi, oleh karena itu mereka harus mengubah kompatibilitas ke Windows 7 sementara beberapa pengguna melaporkan bahwa menonaktifkan mode kompatibilitas menyelesaikan masalah secara instan. Di sini Anda dapat mencoba kedua metode dan memeriksa mana yang berhasil untuk Anda. Jika tidak, kembalikan pengaturan ke default dan lanjutkan dengan solusi lain.
- Tekan Windows + S, cari OBS, klik kanan pada aplikasi dan pilih Buka lokasi file .
- Sekarang klik kanan pada executable dan pilih Properties .

- Setelah berada di properti, pilih tab Kompatibilitas dan centang opsi Jalankan program ini dalam mode kompatibilitas untuk . Sekarang Anda dapat memilih Windows 7 atau 8.
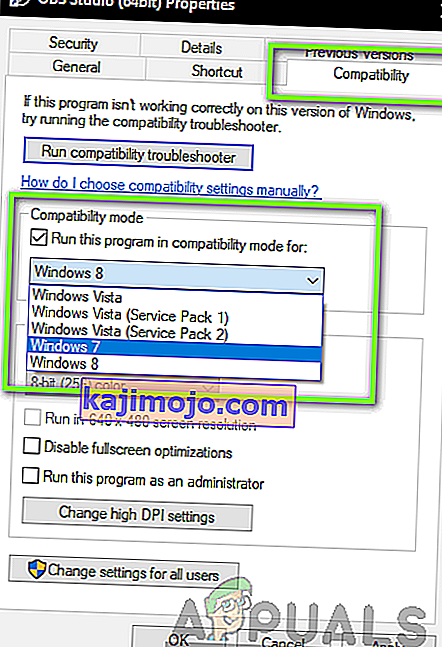
- Simpan perubahan dan keluar. Sekarang coba luncurkan aplikasi dan lihat apakah masalah telah teratasi.
Solusi 4: Memberikan Hak Administrator
Masalah lain mengapa Anda mungkin tidak dapat melakukan streaming layar atau game dengan benar adalah karena aplikasi Anda tidak memiliki hak administrator yang sesuai. Karena OBS sedang membagikan semua konten dan penggunaan komputer Anda secara online, penting bagi Anda untuk memberinya hak administrator. Dalam solusi ini, kami akan melakukan itu dan memeriksa apakah ini menyelesaikan masalah. Meskipun tidak, pastikan Anda tetap mencentang opsi ini sepanjang waktu.
- Navigate to OBS’s executable properties as we did in the previous solution.
- Now click on the Compatibility tab and check the option of Run this program as an administrator.
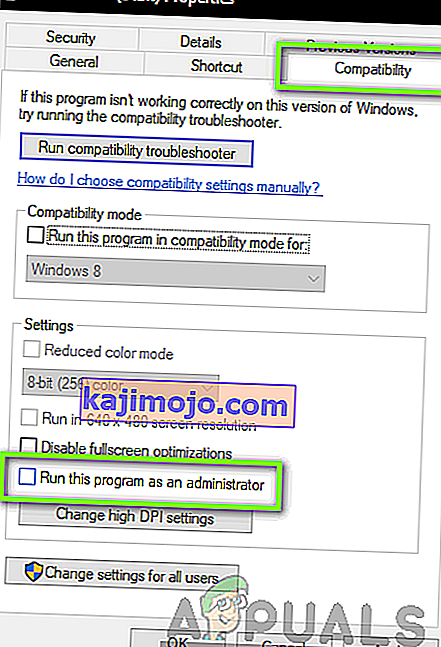
- Apply changes and exit. Restart your computer and launch OBS again. Now check if the issue is resolved.
Solution 5: Selecting the Correct GPU for Resources
Another interesting phenomenon we came across was where not selecting the correct GPU according to the capture you are using caused several issues including the black screen. The breakdown on which GPU to select according to the display selected is as follows:
- Game capture: Dedicated graphics (NVIDIA or AMD).
- Monitor/display capture: Intel’s stock GPU
Note: This solution is only for users who have a dedicated graphics card installed on their computer.
Here we will signify the methods on how to cater to both the situations. Make sure that you follow them according to your case.
- Right-click anywhere on your screen and select NVIDIA Control Panel.
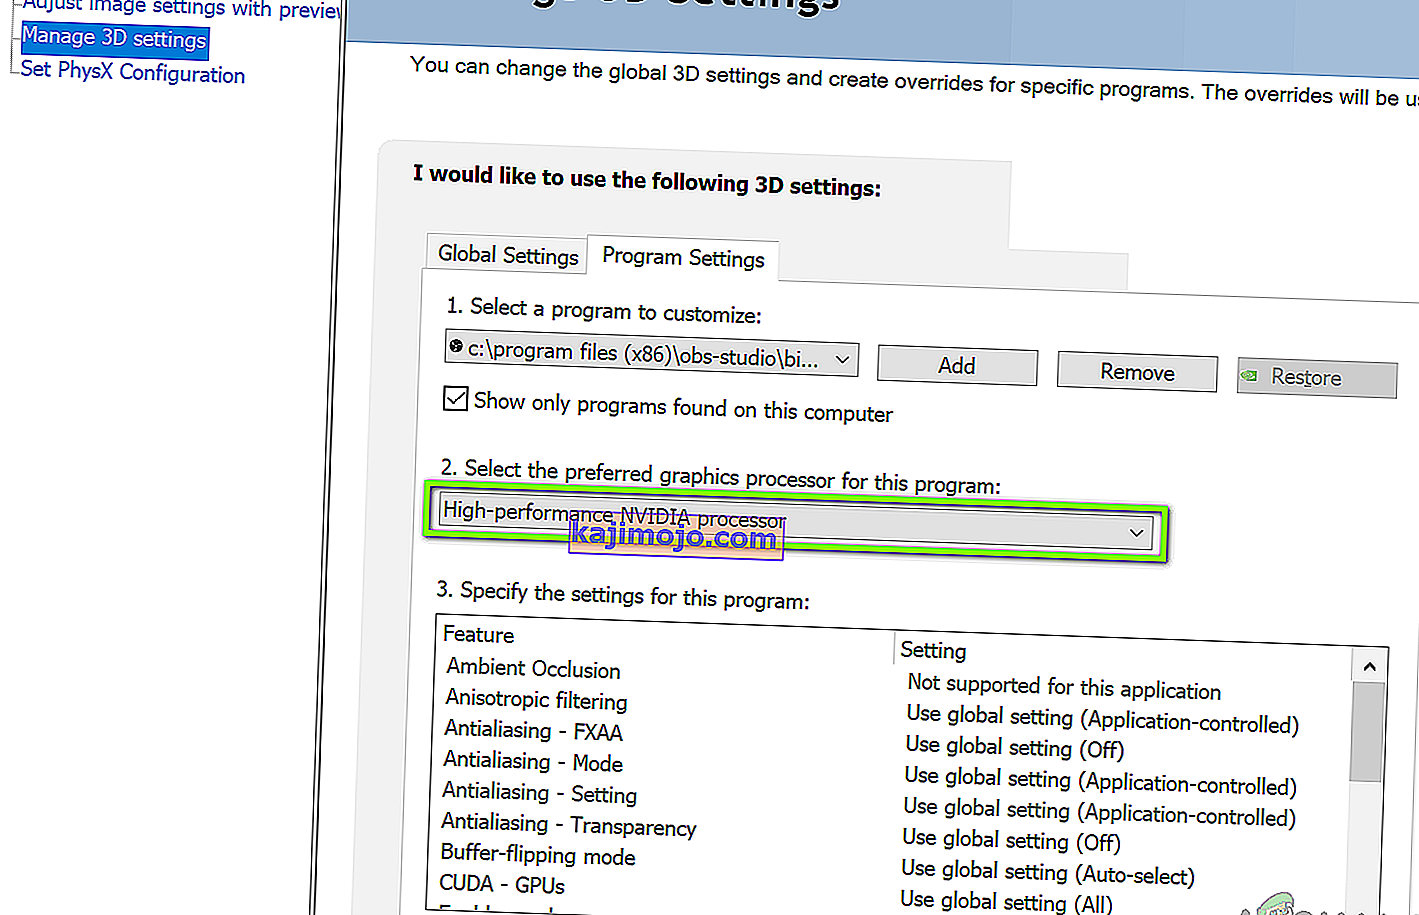
- Once in the control panel, navigate to Manage 3D settings and click on Program Settings.
- Once in program settings, select the OBS display capture. If you are not able to find the entry, click on Add and look up the software by navigating to its installation directory and selecting the executable from there.
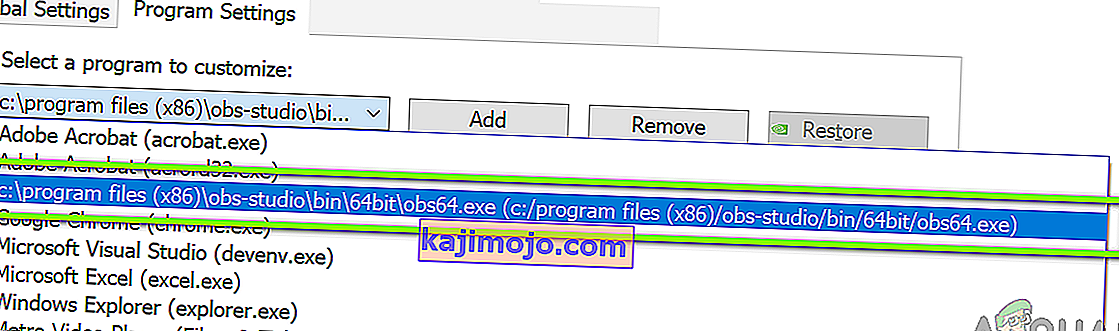
- Now according to the type of capture you are doing (game or monitor), select the correct graphics processor for the program. In the case down below, NVIDIA’s processor is selected.
- Save changes and exit. Now restart your computer and launch OBS again. Check if the black screen issue is resolved.
Solution 6: Changing Drive Permission Settings
If your OBS is installed in your primary drive (C), there are chances that probably even your user might have not have full permissions to edit and modify its contents. This is the usual case and the reason why a conventional user is not allowed access to the drive is because of security reasons because all the core operating system files are present. However, according to some user reports, changing the ownership settings of the drive solved the issue instantly. Make sure that you are logged in as an administrator before following this solution.
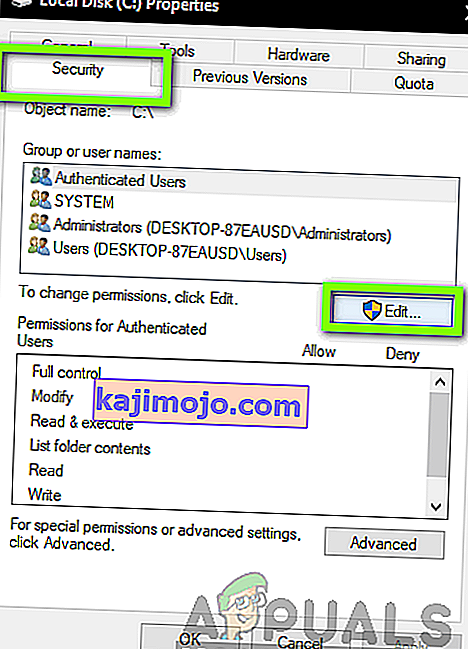
- Press Windows + E to launch the File Explorer. Now right-click on your C drive (or whichever drive is set as your main operating system disk) and select Properties.
- Select the Security tab and then click on Edit in front of permissions.
- Now select the option of Authenticated users and select the checkbox of Full control.
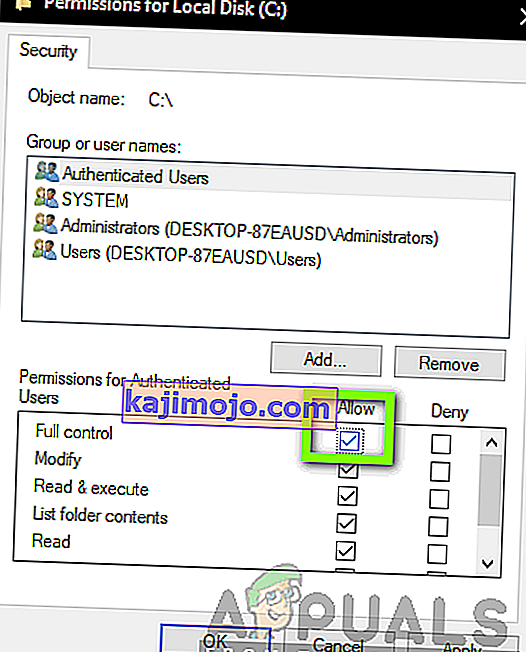
- Press Apply to save changes and exit. Restart your computer and start OBS again. Check if the issue is resolved.
Solution 7: Changing Settings of OBS
Another workaround to consider is changing some specific settings of OBS. Usually, OBS allows users to set the configurations according to their own preferences or will. However, in some cases, the custom settings might conflict with the software and cause the black screen. Here we have listed down some of the changes in settings that you have to do in order for OBS to run in optimal settings.
Mode: *Select according to your preference* Screen: *Select according to your game* Priority: *Usually the default one suffices* Sli/crossfire: Check (You can also try unchecking this one later) Force scaling: Uncheck Transparency: Uncheck Framerate lock: Uncheck Record cursor: Check Anti-cheat: Uncheck Overlays: Uncheck
After you have made changes to the settings of OBS, restart it and check if you can stream your screen/games properly without any issues.
Note: You can also change the mode from “Capture any fullscreen application” to “Capture specific window“.
Solution 8: Enabling Multi-adapter compatibility
OBS has a setting of Multi-adapter compatibility which is meant for computers involving SLI or Crossfire technology. SLI/Crossfire is technologies by NVIDIA/AMD which allows users to connect two graphics cards instead of one and utilize them both in your gameplay or applications. Enabling this feature seemed to have fixed the issue of black screen in OBS instantly.
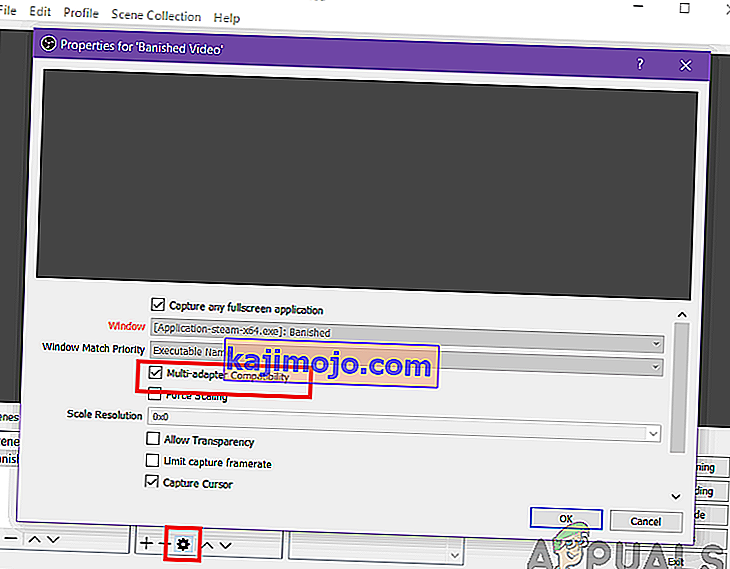
The funny thing is that this fixed the black screen in computers that don’t even have SLI/Crossfire technology installed. To conclude, we can safely say this is a bug in OBS and you have to enable multi-adapter compatibility whether or not you have SLI/Crossfire. You can easily enable this option by selecting the stream and clicking on the gears icon. A new window will pop up from where you can check the option.
Solution 9: Disabling Overclocking
Overclocking allows you to increase the clock rate of your processor until it reaches the threshold temperature set by the manufacturer. Once it reaches the temperature, the clock speed returns back to default so it is cooled down. After it reaches the optimal temperature, its clock speed is increased again and the cycle continues. Overclocking allows users to have better framerates and performance but they aren’t without their share of issues.
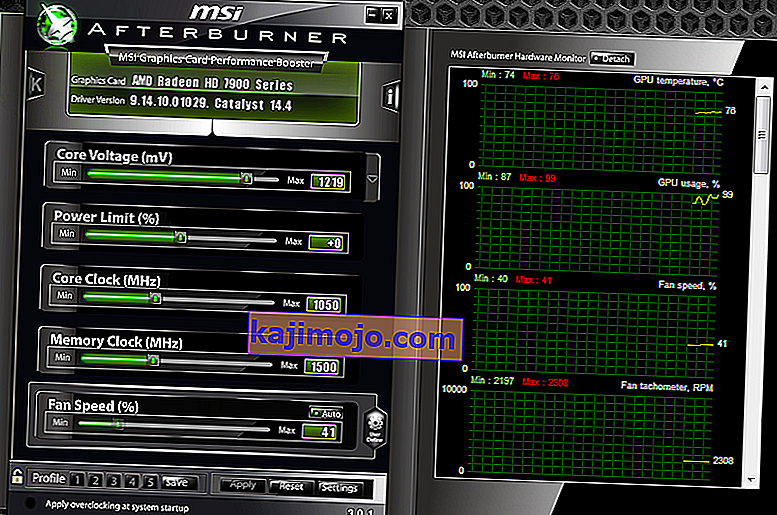
We observed that PCs that had overclocking enabled were having the black screen issue in OBS. You should try disabling overclocking and also overclocking related software such as MSI Afterburner and try launching OBS again. If the black screen issue is resolved, consider disabling overclocking for good whenever you are using OBS.
Note: Also try disabling Overlay from GeForce Experience and Windows game bar features. Take into account any additional software features which may provide additional controls over games or video.
Solution 10: Checking for conflicting software
Another reason why you might be experiencing the black screen on your OBS software is that you have additional software running in the background which is also related to screen capture and video recording. This is a very common scenario for users where they ‘think’ that the other third-party software is not running but in reality, it is in the background. In this solution, we will go through all the different software installed on your computer and uninstall all extra software which might be causing the issue.
- Press Windows + R, type “appwiz.cpl” in the dialogue box and press Enter.
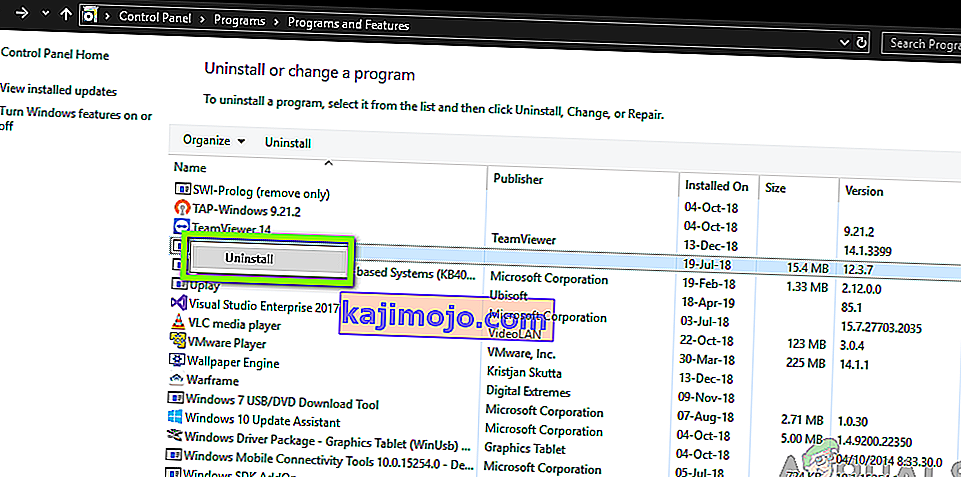
- Once in the application manager, search for any recording software which you might have installed on your computer. Right-click on it and select Uninstall.
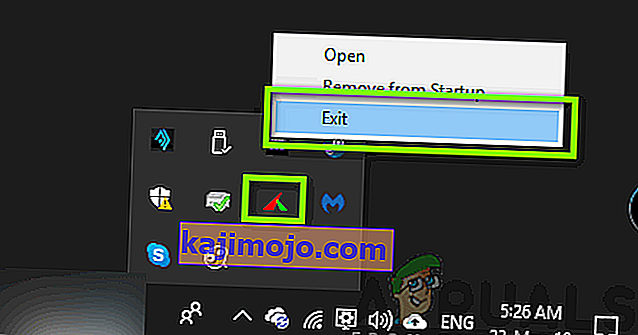
- You should also check your taskbar for any extra applications running in the background. Right-click on each entry and exit the application.
- After you are absolutely sure that no program is running the background, run OBS again and check if the issue is resolved.
Solution 11: Reinstalling the application
If all the above methods don’t work and you are still unable to stream your game/screen successfully using OBS, you should consider reinstalling the application entirely. It is possible that you have a corrupt/outdated copy with issues with several modules. All your preset configurations will be lost during this solution so make sure that you have saved all the work that you need.
- Press Windows + R, type “appwiz.cpl” in the dialogue box and press Enter.
- Once in the application manager, search for OBS, right-click on it and select Uninstall.
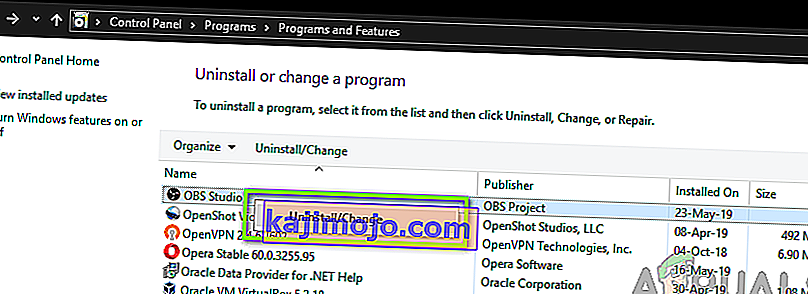
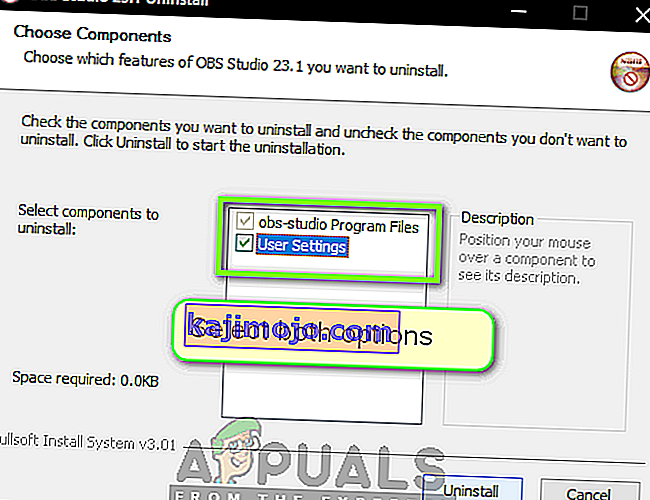
- Select both options (one of them will be preselected) and click on Uninstall.
- Restart your computer. Now navigate to OBS Studio’s official website and download the latest version from there. Install it and check if the issue persists in the fresh copy.